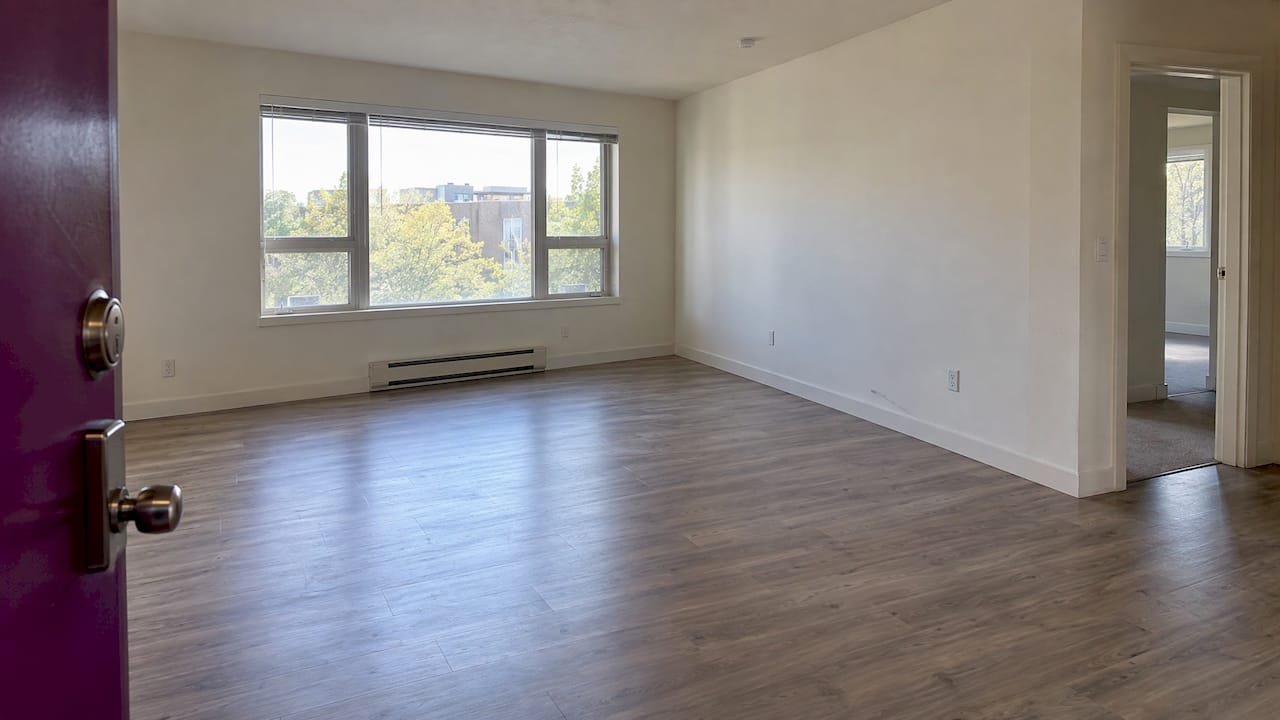
An apartment turnover checklist is the single document that takes a unit from move-out to move-in ready: inspect, scope the work, repair, paint, floor, clean, test safety devices, rekey and sign off. Below is the full sequence, room by room, with the order of work that keeps a unit from being cleaned twice. It also covers documentation, timelines and the countertop decision that most affects your next ten turns.
TL;DR
- Start before move-out: the National Apartment Association advises a pre-move-out inspection within one week of notice, so parts and contractors are lined up before vacancy costs begin.
- Work in order: inspect and photograph, trash-out, repairs, paint, flooring, final cleaning, safety tests and rekeying, then an independent walk-through.
- Test smoke and CO alarms, GFCI outlets, HVAC and plumbing at the end, because trades can disturb them.
- Use one room-by-room form at move-in and move-out, with dated photos, so ordinary wear and damage are easy to tell apart.
- Choose low-maintenance surfaces (especially countertops) so each turn takes less work.
Table of Contents
- What a turnover checklist is for
- Step 1: Inspect before the unit is empty
- Step 2: The room-by-room checklist
- Step 3: Put the work in the right order
- Step 4: How long a turn should take
- Step 5: Document condition and tell wear from damage
- Step 6: Safety checks and rules that depend on location
- Step 7: Choose finishes that make the next turn easier
- Budget the turn before it starts
- When a turn becomes a renovation
- Work with a contractor who keeps turns on schedule
- FAQ
- Sources
What a turnover checklist is for
A turn happens every time a resident leaves. The checklist exists so that nothing depends on memory: not the HVAC filter, not the bathroom fan, not the third key fob. It also gives your maintenance team, vendors and any outside contractor the same scope.
The terms get mixed up, so here is how we use them:
- Turnover is the whole process, from notice to the next resident’s keys.
- Make-ready is the physical work: repairs, paint, flooring, cleaning and final checks.
- Move-out inspection is the condition record that supports your deposit decisions.
The best checklists serve all three. Keep one master version and print a unit-specific copy for every turn.
Step 1: Inspect before the unit is empty
The National Apartment Association’s turnover guide says preparation should begin before move-out, and that a pre-move-out inspection works best within one week after the resident gives notice. The reason is practical: you can see what is likely to need replacing, order parts, book contractors and decide on the scope before the unit sits empty.
During the pre-move-out walk:
- Note large items: carpet condition, appliance age, cabinet damage, water stains on ceilings.
- Check that there are no active leaks under sinks or around the water heater.
- Flag anything that needs a licensed trade, such as electrical, plumbing or HVAC work.
- Send the vendor requests the same day. The scope reaching the trades late is where most schedule slippage starts.
Then complete a second, full inspection after the resident has left and the unit is empty. Compare it with the move-in record, and take dated photographs.
Step 2: The room-by-room checklist
Public checklists vary in detail, but they agree on the core. A municipal sample rental inspection checklist covers floors, walls, doors, locks, lights, windows, screens, window coverings, smoke and CO alarms, kitchen fixtures and appliances, bathrooms, HVAC, stairs, hallways, exterior areas and keys. Use the list below as a working template.
Entry and exterior doors
- Doors open, close and latch without sticking.
- Locks and deadbolts operate smoothly. Plan to rekey (see Step 6).
- Weatherstripping, thresholds and peepholes are intact.
- Door stops and hinges are tight, with no loose screws.
Kitchen
- Range, hood, refrigerator and dishwasher all run through a full cycle. Check the oven and every burner.
- Sink, faucet and disposal: no drips, no slow drains, no leaks under the cabinet.
- Cabinets: doors align, hinges and pulls are tight, shelves are intact.
- Countertops: look for burns, chips, deep scratches and swollen seams near the sink.
- GFCI outlets near water trip and reset properly.
- Fire extinguisher present and charged, where your property provides one.
Bathrooms
- Toilet is firmly seated, flushes fully and does not run.
- Tub and shower drain freely; caulk and grout are sound, with no mold or gaps.
- Exhaust fan runs and moves air.
- Vanity, mirror, towel bars and toilet-paper holders are secure.
- GFCI outlets test correctly.
Living areas and bedrooms
- Walls and ceilings: holes, cracks, stains, scuffs and signs of water damage.
- Closet doors, shelves and rods.
- Light fixtures, switches and outlets: all work, and all have cover plates.
- Windows open, close and lock; screens are present and undamaged; blinds or coverings are intact.
Floors
- Carpet: stains, tears, odor, seam separation.
- Hard flooring: scratches, gouges, lifted edges, water damage.
- Transitions and baseboards: loose, cracked or missing.
Mechanical systems
Test these as systems, not just by looking. Heat and cool the unit and listen to it. In practice that means:
- Thermostat responds to a change in setting.
- Heating and cooling both produce the expected air temperature.
- Replace and date the filter.
- Condensate drain is clear and refrigerant-line insulation is intact.
- Supply and return vents are unobstructed and ductwork is connected.
- Water heater delivers hot water at every fixture, with no corrosion or leaks around the tank.
Safety devices
- Smoke alarms on each level, outside sleeping areas and inside bedrooms where your local code requires them.
- Carbon monoxide alarms where required or recommended, for example in units with fuel-burning appliances or an attached garage.
- Handrails, guards and stair treads are solid.
- Egress windows and doors open without tools or keys from the inside.
Pest checks and utilities
- Look under sinks, behind appliances and in closets for droppings, nests and moisture. Schedule treatment where evidence turns up.
- Confirm utilities are on in the right name, and record meter readings.
Keys and access devices
- Count and log every key, fob, garage remote and mailbox key.
- Replace what is missing before the next resident is handed a set.
Step 3: Put the work in the right order
The order of work saves more money than any single item on the list. The National Apartment Association’s sequence runs: inspect after move-out, remove trash, change to a vacant lock, paint, complete maintenance repairs, clean generally, clean or replace carpet, then inspect so the unit is fully ready for the new resident.
Our field version looks like this:
| Order | Task | Why it goes here |
|---|---|---|
| 1 | Move-out walk and photos | Creates the baseline before anything changes |
| 2 | Scope and schedule | Gets every trade booked at once |
| 3 | Trash-out and rough repairs | Dirty, noisy work goes first |
| 4 | Drywall repair and paint | Paint drips would ruin finished floors |
| 5 | Flooring and carpet | Goes in after paint is dry |
| 6 | Final cleaning | Follows every trade so it is done once |
| 7 | Safety tests and rekey | Trades can disconnect or damage devices |
| 8 | Second-person walk and punch list | Fresh eyes catch what the crew stopped seeing |
Two habits help. First, clean room by room and do floors last. Apartments.com’s cleaning guidance for landlords says to work this way and to allow carpet roughly 2 to 24 hours to dry, depending on carpet type, humidity and airflow. Second, repeat the safety tests after the trades leave.
The last walk-through should be done by someone who did not do the work. A written list of leftover items is a punch list, and we explain how one works in what a punch list is in construction.
Step 4: How long a turn should take
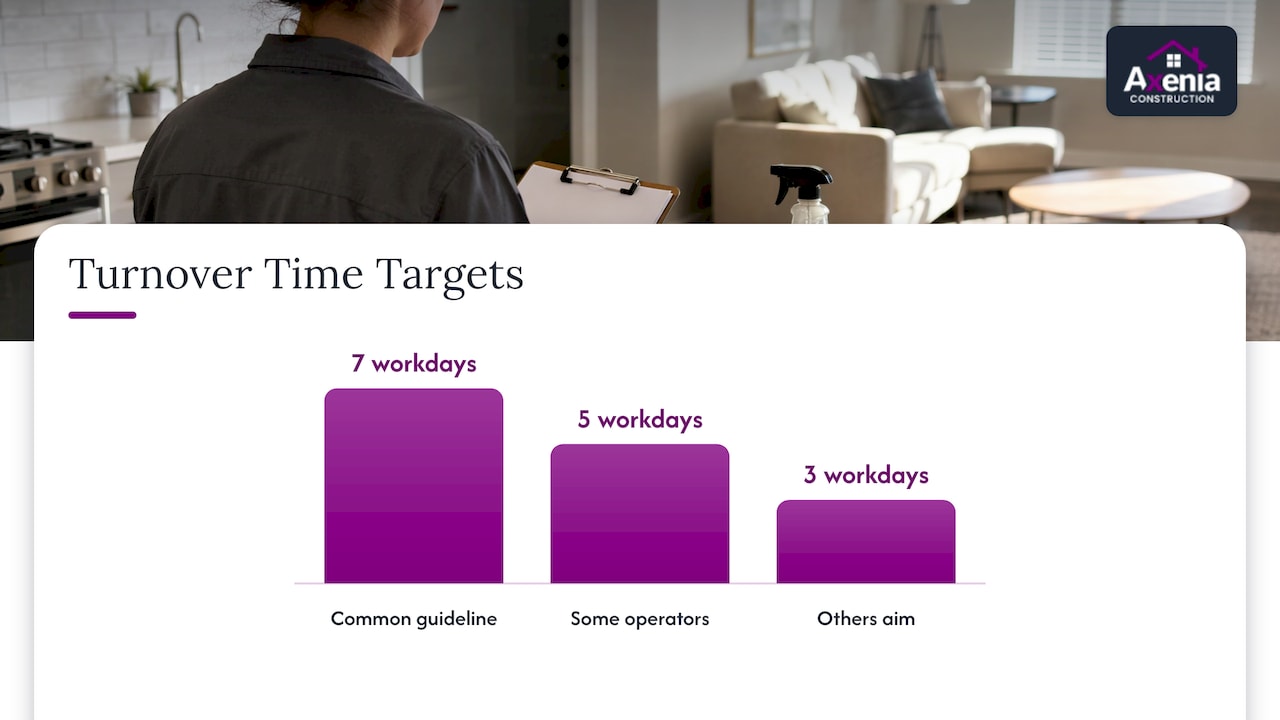
The National Apartment Association’s 2025 guide says turnover time depends on the age of the community, how long the last resident stayed, the condition at move-out and whether employees or contractors do the work. It calls seven working days a common guideline, with some operators aiming for five or even three.
What stretches the schedule is rarely the labor. It is usually:
- A scope written late, so the trades start late.
- Parts that were not ordered during the pre-move-out inspection.
- Waiting on one trade before another can begin, such as paint before floors.
- A failed final walk that sends the crew back.
A unit that needs only touch-up paint and cleaning can be ready in a few days. A unit that needs new flooring, cabinet work and a plumbing repair needs a real schedule and a coordinated contractor. If you want to budget those scenarios, our guide to unit turn cost in Maryland and our overview of tenant turnover renovation costs explain how to plan for them.
Step 5: Document condition and tell wear from damage
A checklist is only as useful as the record behind it. The Berkeley Rent Stabilization Board’s move-in/move-out checklist advises landlord and tenant to inspect together within a few days of move-in and again before move-out, and to keep the recorded results. It documents categories such as floors, windows, doors, walls, ceilings, and heating and air conditioning.
To make your record hold up:
- Use the same form at move-in and move-out so entries match line by line.
- Take dated wide and close-up photos of every room, closet, appliance, fixture, floor, entry and utility area.
- Describe conditions factually, with measurements where useful, rather than with vague labels such as “fair.”
- Record keys, fobs and meter readings.
- Get signatures from the manager and resident whenever possible.
- Keep photos, invoices, repair notes and deposit paperwork in one file per unit.
As a general guide, faded paint, light carpet wear, small nail holes and worn finishes are ordinary wear. Large holes, broken fixtures, pet stains, burns, missing components and harm from neglect are damage. The legal standard differs by state, locality and lease, so confirm deposit rules with your local landlord-tenant authority or an attorney before you deduct anything. This is especially true across DC, Maryland and Virginia, where the rules are not identical.
Step 6: Safety checks and rules that depend on location
Safety items are where a generic checklist falls short. Requirements come from the locally adopted code, not a national turnover form. A borough pre-inspection checklist based on the 2009 International Property Maintenance Code shows the pattern: smoke alarms on each level, outside sleeping areas and inside them; CO alarms recommended outside sleeping areas where fossil-fuel appliances or an attached garage exist; and working plumbing, hot water, heating, electrical systems and safe egress. Your county or city may adopt different language, so confirm it with your local housing or code office.
Rekey every time. Changing the lock to a vacant lock during turnover, as the NAA sequence notes, protects the next resident and ends the question of who still holds a key.
Lead paint disclosure. For most housing built before 1978, federal law requires you to give the EPA’s lead pamphlet and disclose known lead-based paint information before a lease begins. The HUD and EPA disclosure rule summary adds that lessors must keep a copy of the disclosures for at least three years from the start of the lease. The EPA fact sheet lists the exemptions, including housing built after 1977, leases of 100 days or fewer and housing tested lead-free. If your unit is older and you are about to sand or demolish painted surfaces, hire a contractor trained in lead-safe work practices.
Step 7: Choose finishes that make the next turn easier
The best turn is the one you do not have to do. Every finish choice either lowers or raises your cost at the next move-out. Countertops are a good example, because owners often ask which material suits a rental.
The general trade-offs are well understood:
- Quartz is non-porous and does not need sealing, which is why many owners treat it as the low-maintenance default for rentals with regular turnover.
- Granite is hard and heat-tolerant but porous, so it needs periodic sealing to resist stains.
- Solid surface is easy to clean and scratches or minor burns can often be sanded out, but it can scorch or react to harsh chemicals.
- Laminate costs less up front and installs easily, but it is more vulnerable to heat and scratches, and a deep chip generally means replacement.
The right answer depends on your budget, how long you plan to hold the property and the tier of tenant you expect. Get a written installed price for your own layout before you decide, since square footage, edges and cutouts change the number. Our kitchen and bath remodel team can quote a countertop swap as part of a larger scope.
Other low-upkeep decisions pay off in the same way: durable paint finishes in a consistent color, resilient flooring in high-traffic rooms, standard-size filters and fixtures, and appliances from one product line so parts are interchangeable.
Budget the turn before it starts
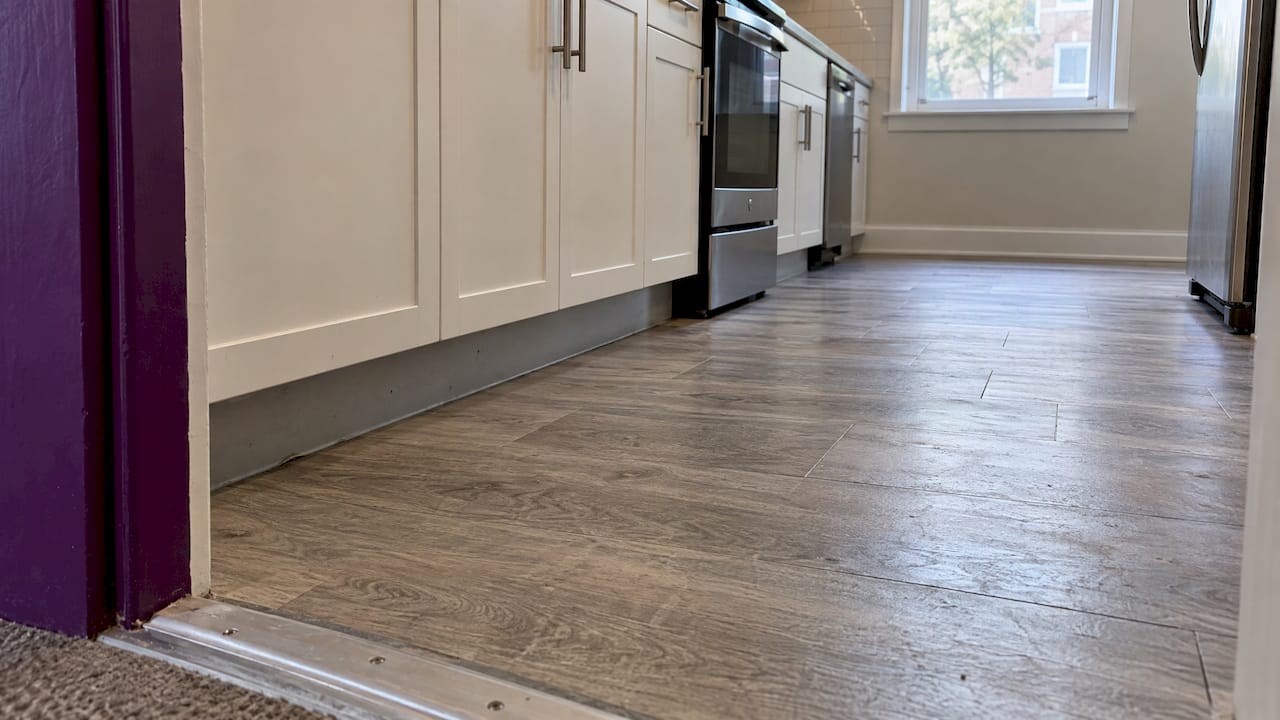
A turn has a base cost (cleaning, paint touch-up, minor repairs) and variable items (flooring, appliances, cabinetry). Separate them on your checklist so the pre-move-out inspection can produce a number, not just a to-do list. Free renovation budget templates and calculators can help you turn a scope into line items, track costs per unit and compare turns over time.
Our perspective
Most turnover problems we see are not repair problems. They are sequencing and communication problems. A unit gets cleaned, then painted, then cleaned again. A trade finishes and nobody retests the smoke alarm. The scope reaches the contractor on day four instead of day one.
As a women-owned general contractor in Rockville, we approach a turn like any other project: a written scope, a schedule built around the order of trades, one point of contact and a final walk-through before we call the unit done. That is what meticulous project management and transparent communication mean in practice, and it is how we work across Maryland, DC and Northern Virginia, where permitting expectations differ from county to county.
Our advice to owners is to treat the checklist as a living document. Every turn teaches you something about your building, whether it is a failing bathroom fan or a finish that never holds up. Write it down, fix it at the source and let the next turn be simpler.
Arienne
When a turn becomes a renovation
Sometimes the checklist surfaces more than a make-ready can handle: water-damaged subfloor, a kitchen that is past its life, a layout that no longer rents well. That is the point to bring in a general contractor rather than stack up separate vendors. We handle this through our general contracting and design-build services, and we manage rental portfolios and commercial properties through our property management and government contracting services.
If you manage commercial space, the same discipline applies when a tenant leaves, and our tenant buildout timeline shows how that process runs.
Work with a contractor who keeps turns on schedule
Axenia Construction is a licensed, locally owned general contractor serving owners, managers and realtors in Maryland, DC and Northern Virginia. We can scope a unit turn or a larger renovation, coordinate the trades and walk the finished work with you before handover.

To discuss a unit or a portfolio, start at axeniaconstruction.com and tell us what you are turning. We do not publish prices, because every unit and scope is different, so we quote each project individually.
FAQ
What is the difference between a turnover checklist and a make-ready checklist?
They describe overlapping things. A turnover checklist covers the whole process from notice to new move-in, including inspections and paperwork. A make-ready checklist covers the physical repairs, painting, flooring and cleaning that prepare the unit. Most owners combine both into one document.
How soon should I inspect after a resident gives notice?
The National Apartment Association recommends a pre-move-out inspection within one week of notice. That gives you time to order parts, schedule contractors and plan the scope before the unit is empty. A second full inspection follows once the resident has moved out.
How often should I repaint between residents?
There is no single rule, because it depends on how the previous resident left the walls and how long they stayed. Many owners touch up between tenants and repaint fully every few turns, or sooner if the walls show marks, stains or smoke. A consistent paint color makes touch-ups quicker.
Which countertop is best for a rental property?
Many owners favor quartz because it is non-porous and does not need sealing. Granite suits longer holds if you accept periodic sealing, while laminate keeps upfront cost low but is more vulnerable to heat and scratches. Match the material to your budget and how long you will own the unit.
Do I need to disclose lead paint when I re-lease a unit?
For most housing built before 1978, yes. Federal rules require you to provide the EPA pamphlet and disclose known lead-based paint information before the lease begins, and to keep the disclosure for at least three years. Check the EPA exemptions list or ask your attorney if you are unsure.
Sources
- National Apartment Association, Apartment Turnover (2025)
- National Apartment Association, Apartment Turnover (2019)
- Berkeley Rent Stabilization Board, Move-in/Move-out Checklist
- Borough pre-inspection checklist
- HUD and EPA Lead Disclosure Rule handout
- EPA Lead-Based Paint Disclosure Rule fact sheet
- Apartments.com landlord guide to preparing a rental